
Eclipse
Eclipse is an integrated development environment for “everything and nothing in particular”. Plugins exist for every thing including Java, C++, Cobol and others.
Eclipse was first licensed by IBM and then donated to the open source community. IBM and group of other companies are backing Eclipse. With open source community Eclipse has grown from strength to strength.
But eclipse has strong support for Java. The plug-in for Java comes out of the box with Eclipse. If you are looking for an IDE to develop Java desktop applications, look no further.
Comparison with other IDEs:
If you are developing serious Java apps, you will need a good IDE. The market for Java IDEs is taken by four players, Eclipse, Netbeans, JCreator, and IDEA.
Of these Eclipse and Netbeans are free. JCreator has a free non-expiring version but with some features disabled. So if you are not looking to spend some money, Eclipse is your best bet. It has almost all the functions found in commercial IDEs. It is considerably faster than Netbeans.
Installing Eclipse:
To install eclipse you will need
- JRE 1.4 or higher
- Eclipse zip
- A utility to unzip the zip file.
Unlike some other utilities Eclipse does not come with a installer. You just need to unzip it to a directory and it will start to work.
Common problems:
- Java runtime environment not found.
Solution: Get JRE from the sun site. Install it before you run Eclipse. Eclipse does not contain a JRE.
Your first program:
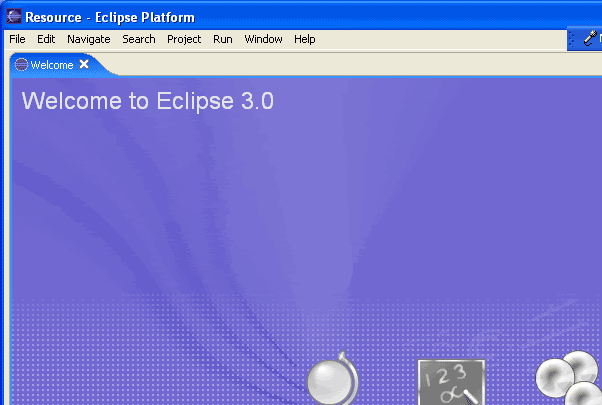
Here we will develop the HelloWorld program using eclipse. When you start eclipse you will get a screen similar to this.
Since we need to write a Java program change to Java perspective by, Window>Perspective>Open perspective>Java.
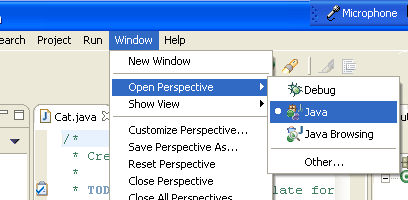
If you cannot see option for Java in open perspective choose other and then choose Java.
Every program must have a project associated with it. So we will create a new project using, File>New>Project.

Lets name it HelloProject.
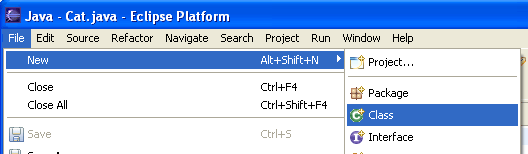
Next we need to create a new class. This can be done by File>New>Class.
After giving it a suitable name( HelloWorld?) write your program. Now save it by pressing Ctrl+s. there is no need to compile as Eclipse automatically compiles.
It can be executed by Run>Run as>Java application

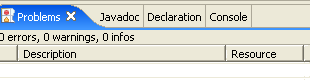
That’s it. Your program is compiled and running. To see the output change to console tab at the bottom.
This was the basic of eclipse IDE.
posted by shabda @ 10:47 AM
![]()
![]()
0 Comments:
Post a Comment
<< Home