
The 30 minute photoshop tutorial.
© 2005 Jean X. (Brilliantbeauty)
Hello there. I am sure many of you have a graphics program and are wondering, what the hell do I do now? Well, what many beginners miss is the art of the blend. This tutorial is designed to help the BEGINNER. If you are a graphics genius and think this tutorial is idiotic, live with it, this is, I repeat, a tutorial on how to get started. With practice, you should develop your own style, but for now, try this one. Please keep in mind that I am making the assumption that you kind of know what’s on the toolbar.
1. New Canvas. (Ctrl-N) Set it to the size you want. For now, I am doing your boring average blend size. 450x450. By no means does the blend have to be boring though.
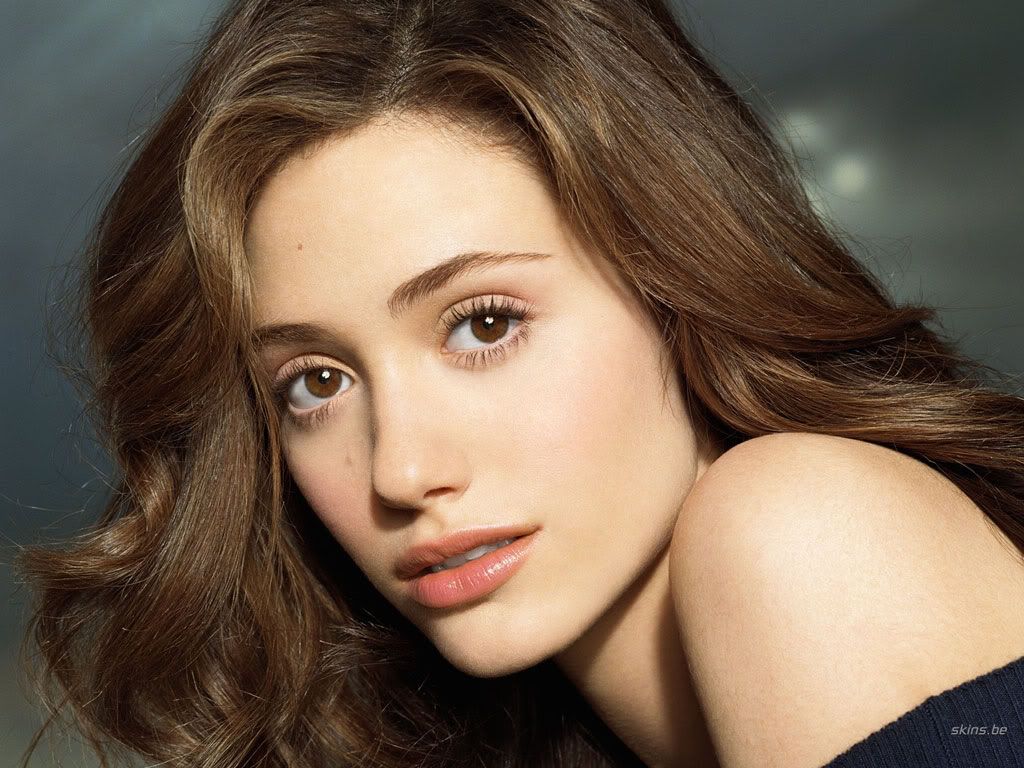
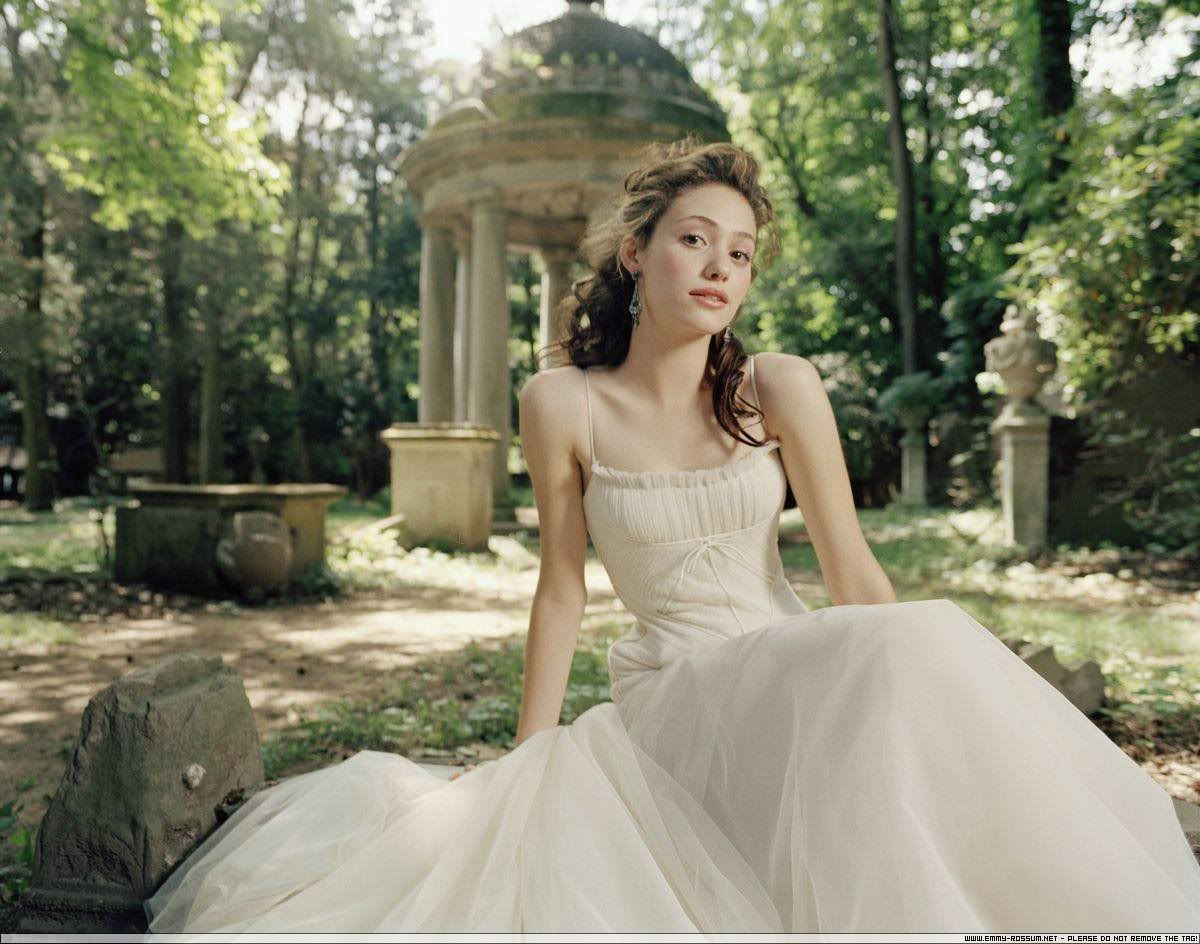
2. Think of a theme. DUH! For this one, I’m going to do a Southern belle, played by Emmy Rossum, because I have far too many Emmy images. Use whomever you would like.
3. Find the pictures. I suggest finding four. Two of your person, and two landscapes stock images. They should be a fairly high resolution, rather large, and kind of matching each other in terms of resolution. (Meaning do not use a high-res photoshoot, alongside a low resolution screencap. It will make your graphic less cohesive.)
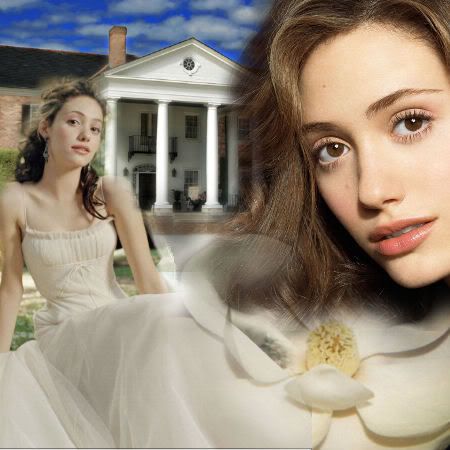
I chose these ones.
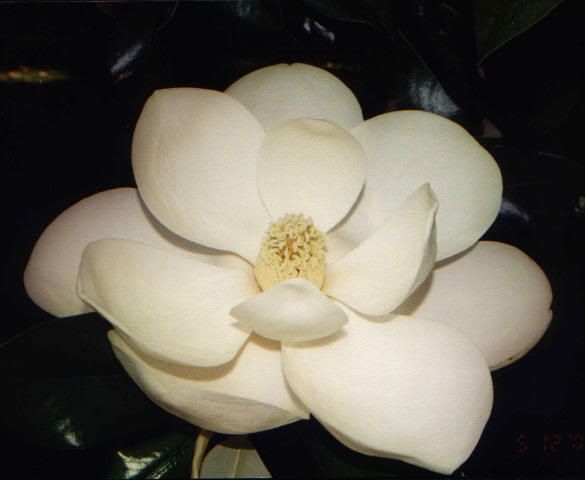
Plantation
4. Now drag, if you have them saved, or copy and paste them onto your canvas as a new layer. Ctrl+E. If you copy and paste, don’t forget to promote the selections, ctrl+shift+P. Then deselect all, ctrl+D.
5. Arrange them how you would like and using a 60 px brush, set at 25% hardness, opacity 100% erase gently around the edges, going into them a bit so they become semi transparent around the edges. Rearrange until they look good. Feel free to mirror, resize, and rotate, the images to fit your needs.
 This is what I came up with. Do not worry, it gets WAY better, I promise. ; )
6. Now with your eraser brush at 22% opacity partially erase some extraneous parts like edges of hair.
 a bit better
 7. Now add some effects! I merged my Emmy layers together, duplicated it, then set a 1 pixel guassian blur (Adjust>>blur>>Guassian blur) on them, and repeated 5 times. Then I set the blurred layer to overlay at an 87% opacity. Use screen if your person is more tan rather than overlay. Merge down and sharpen the merged layer. Adjust>>sharpen>>sharpen.
 She’s all glowy now
8. New raster layer. Pour in black and set it to color legacy. It should be grayscale now. Now its time to add color and the whole "graphic" idea of it. We are going to use my favorite method, textures! You will find more boxy textures as well, but for this type of thing I prefer blendish textures.
Made by my lovely friend Amanda (MySundayWarning)
Now add that on at soft light.
 Instant transformation!
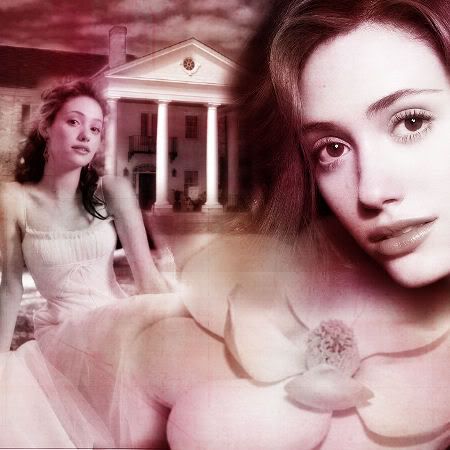
9. But we’re not done yet. Now new raster layer. Fill with the darkest blue from the swatches (#000040) and set the layer to exclusion. New raster layer again. Choose a pretty gradient (I used your standard duotone brown) in your materials palette, flood fill and set layer properties to soft light.
 lovely, isn’t it?
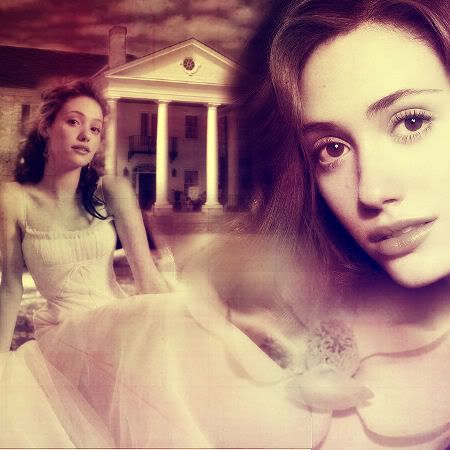
10 BRUSHES! Now, while you shouldn’t rely heavily on these, they can really spice up your image! New Raster Layer. I used a brush from the abandoned photo set at http://1greeneye.net/brushes The color is basic black and I spread it around the whole image. Now set the layer to soft light.
 brush tastic.
11. Text and accents. Find something to say, and say it. The text color will be your background color. Just make sure the stroke width is set to 0. New Raster layer. I used one of my self created tiny text brushes and some more brushes from greeneye to create pretty accents.
 Almost Done!
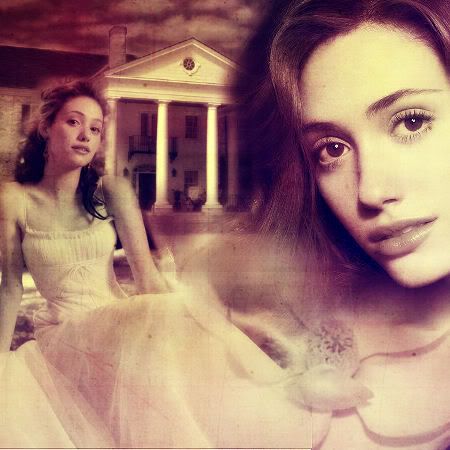
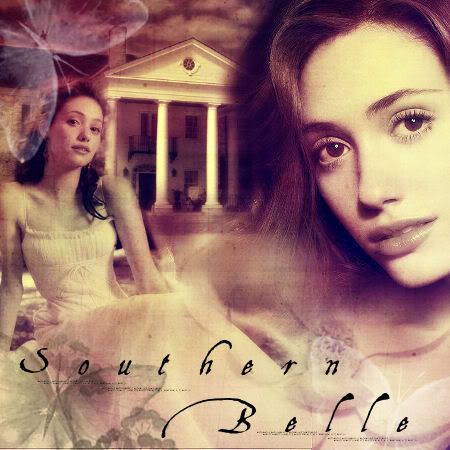
12. Borders and touch ups. This is basically your own thing. I ended up blurring the background once, but that’s all I really did for touchups. Then I took greeneye’s vertical horizons brush, new raster layer, in black and created a border.
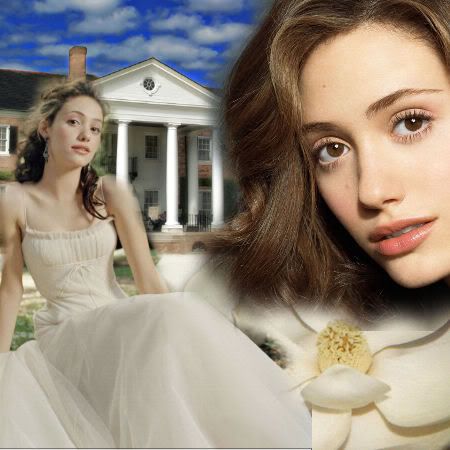
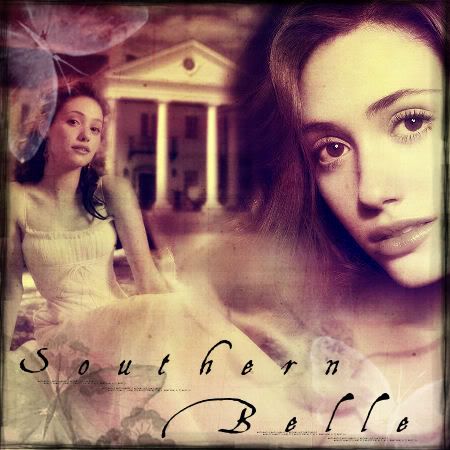 MAGNIFIQUE!
I hope you learned much from this tutorial and continue on with your graphics journey, good luck! -Jean
posted by shabda @ 6:23 AM
![]()
![]()
1 Comments:
This is great! I always wondered how to achieve that kind of "old photograph" look. Thankyou for posting such a great article/guide!
Web Head - A guide to the Internet, Search Engine Optimisation (SEO), Web Programming, and more!
Post a Comment
<< Home